


Babymoon on the West Coast
Over Labor Day weekend Abe and I boarded Virgin America for a flight from JFK to LAX. Our week long trip to SoCal included visiting some of Abe's family, attending the wedding of close friends (Congratulations, Chelsea and Sam!!), and visiting with one of my best friends and her hubby, who I only get to see maybe once a year (if I'm lucky).
I was not looking forward to flying being that I'm 7 months pregnant, but the flight from JFK > LAX was remarkably comfortable. I had an aisle seat - easy access to the bathroom and to walk around, our seat neighbors were really nice - one couple from Brazil and another couple travelling with a 5 month old baby, and I had the entire season 1 of Game of Thrones on my laptop.
The flight back was not as sweet, but I blame it more on being a red eye than anything else. Even if I wasn't pregnant I wouldn't have done well on that flight. Lesson learned, no more red eyes.
Trip Highlights (aside from seeing family, old friends, and the marriage of two wonderful people):
- Survived an 3.2 earthquake
- Amazing home-cooked meals by Elise & Alex, Cheryl and Leah
- Lots of beach and pool time
- Meeting new dog friends
 First thing off the plane? Hit up In-N-Out Burger.
 faux trees at The Getty
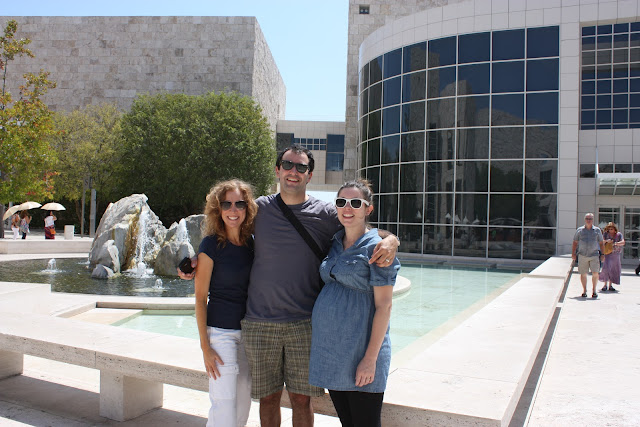 cousin Elise, Abe and me at The Getty
 Chelsea and Sam's wedding was at a vineyard so they incorporated wine into the ceremony.
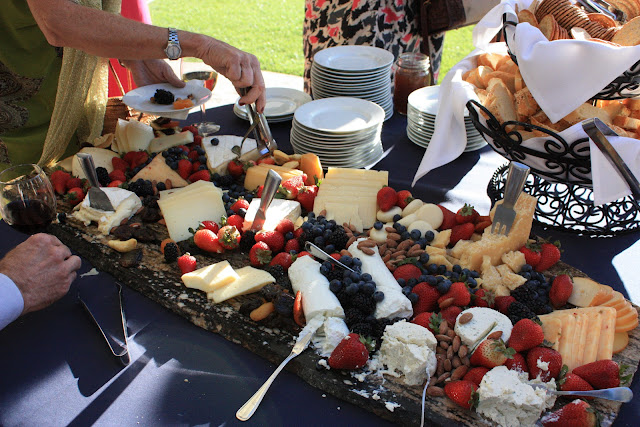 I spent a lot of time here.
 Chelsea the bride - straight out of an Anthro catalog
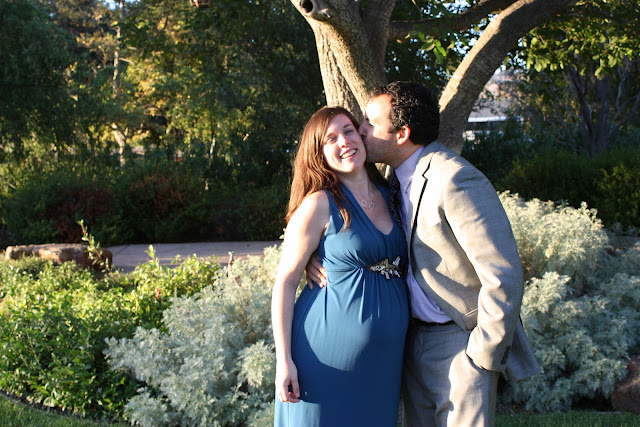 Third Trimester!
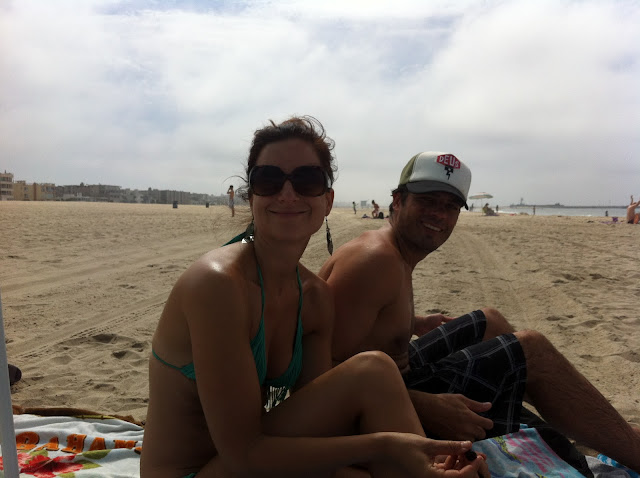 Beachin' it in Marina del Rey with Leah and Jon.
 Share Article